Hardware
RaspiBlitz runs on RaspberryPi 4&5 - but if you go buy new hardware anyway, we strongly recommend getting a RaspberryPi 5 with 8GB RAM. The LCD screen is optional but also recommended for easier setup and monitoring once running.
Starting with RaspiBlitz v1.12.0, you can now boot directly from NVMe on the RaspberryPi 5! The new drive layout supports NVMe drives over PCIexpress and allows for optional separation of Data & Storage/Blockchain drives with Auto-Expand functionality for Proxmox setups. You can also copy data from old HDD/SSD/NVMe drives during setup.
RaspberryPi 5 Setup (recommended)
- RaspberryPi 5 8GB pimoroni shop
- RaspberryPi 5 Active Cooler pimoroni shop
- RaspberryPi 5 Official Power Supply 27W pimoroni shop
- NVMe Base for Raspberry Pi 5 pimoroni shop
- NVMe - Crucial P3 Plus SSD 2TB M.2 PCIe Gen4 : amazonUS amazonDE
- LCD - 3.5" RPi Display 480x320, GPIO connection, XPT2046 Touch Controller: amazonUS amazonDE
- MicroSDCard 64GB - Kingston High Endurance microSDXC95R 64 GB: amazonUS amazonDE
Alternative Parts
If you searching for alternative NVMe drives >=2TB that work with the recommended Pimorini NVMe base: - check the compatibility list under https://shop.pimoroni.com/products/nvme-base?variant=41219587178579
If the above mentioned LCD screen is sold out you can also use these different vendors for the screen on Amazon:
- Quimat 3,5'' Zoll Inch Touch
- ELEGOO Display 3.5" Zoll TFT LCD
- kuman 3.5 Inch Touch Screen TFT Monitor
- Waveshare 3.5inch Display for Raspberry Pi
With all LCD screen models don't use the ones that have an HDMI port/connector - what you need is a 3.5 inch LCD screen model (resolution of 480×320) that connects only thru the GPIO ports (SPI) and has an XPT2046 touch controller.
If you want to get an NVMe instead of a external SSD you can try these parts (release 1.12 needed):
-
Pimoroni NVMe Base pimoroni shop
-
NVMe Crucial P3 Plus 2TB Gen4 CT2000P3PSSD8 amazon link
-
Geekworm X1004 V1.1 NVME PIP shield [Geekworm official] (https://geekworm.com/products/x1004)
-
NVMe Verbatim VI3000 2TB (49376) drive
If you are testing or searching alternative SSD/NVMe models - check out this repository: https://github.com/chGoodchild/raspi5_ssd_compattibility
RaspberryPi 4 Setup (not recommended anymore)
You can still run RaspiBlitz on a Raspberry Pi 4, but it is not recommended because performance will be slow and the device does not support NVMe storage, requiring the use of older SSDs with a USB 3.0 SSD adapter (the specific adapter and SSD model are strongly recommended for reliability, though other setups have worked in the past). For better performance and compatibility, a Raspberry Pi 5 is preferred, and if one is not available, an older laptop can also serve as a suitable alternative.
Assemble your RaspiBlitz
When you have all parts you need to:
- Assemble the Heatsink-Case (when RaspberryPi4) or click-on the Active Cooler Fan (when RaspberryPi 5).
- Put the SSD into the Case and connect it per USB to the Raspberry Pi (blue ports).
- Add the display on top with the pins ending at the edge.
- Plug in the network cable.
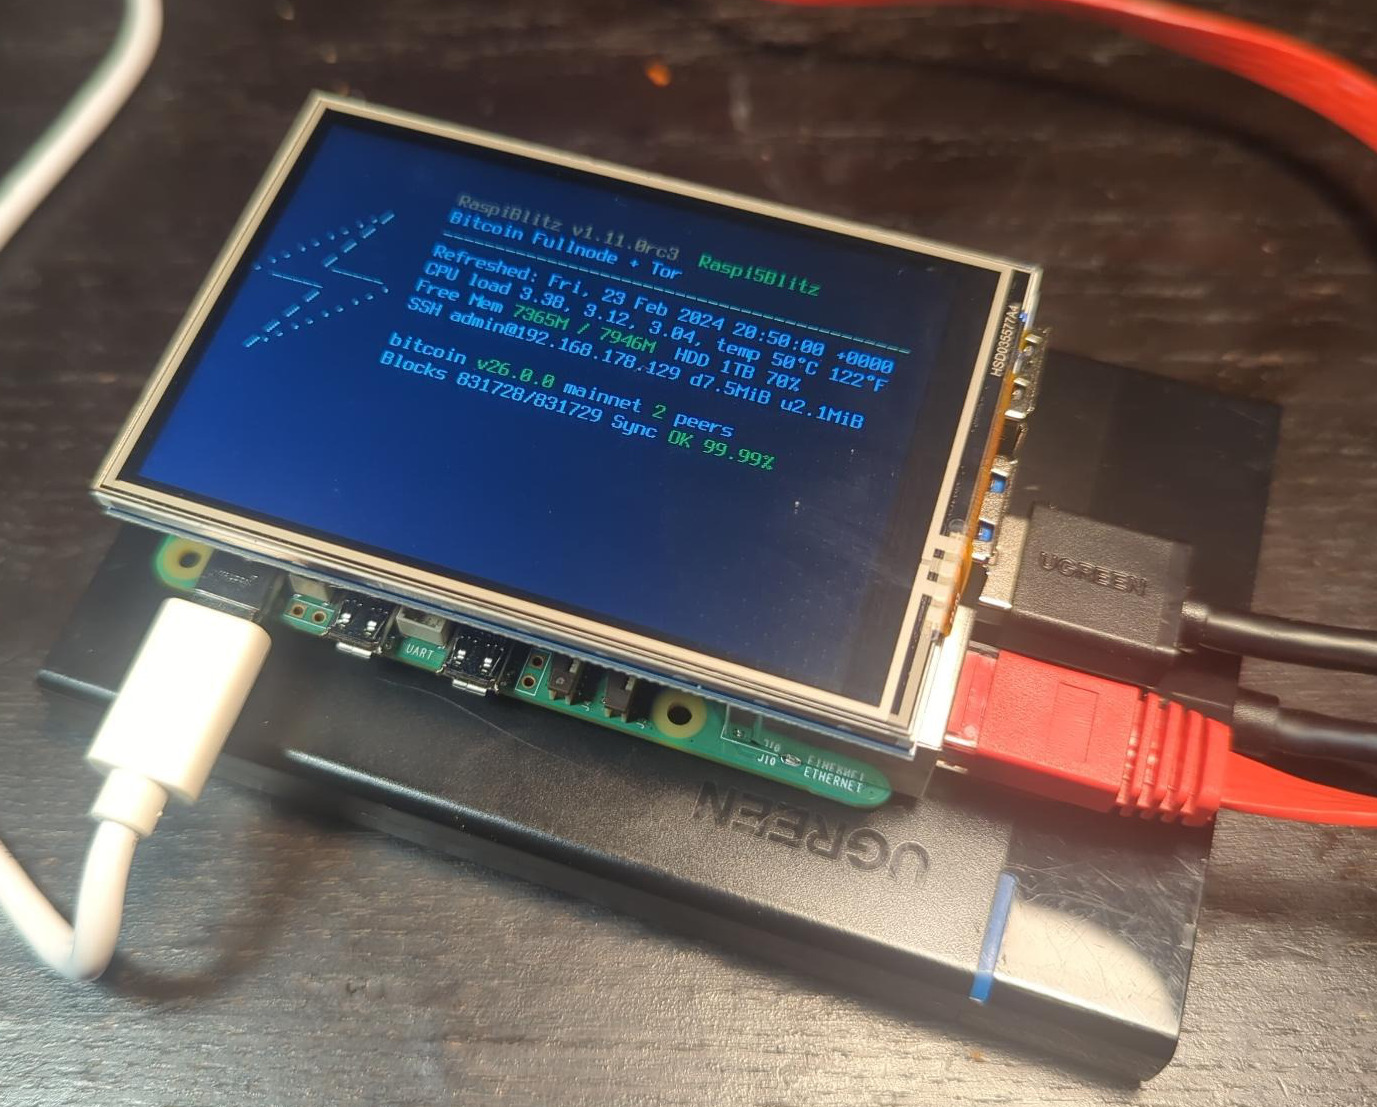
In the end your RaspiBlitz should look like this (when RaspberryPi 5):
You now have the hardware ready for your RaspiBlitz - whats missing is the software to run. This is normally done by downloading an image file and then writing it (flashing it) to the sd card. This is a bigger file (multiple GigaBytes) so make sure to have the available storage space on your laptop.
To continue setup go to next chapter Software Download.
If you are a very advanced user who is able to read/verify code or you like to run a self-modified/forked version of RaspiBlitz you can also build the sd card image yourself - see the Build your own sd card image